Share
Pin
Tweet
Send
Share
Send
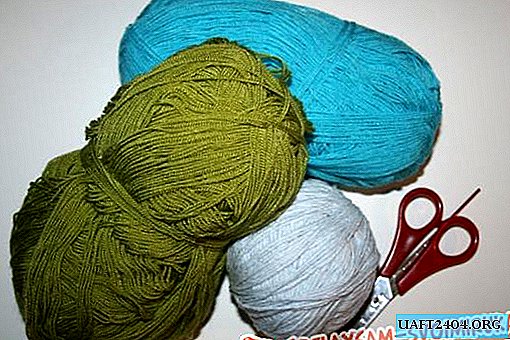
Today we will knit a charming snail, and you will need the following:
- acrylic or any other hypoallergenic threads of three different colors. You can take it from a single color scheme, as I did, or you can make a bright completely colorful one, as you like.
- a suitable hook;
- scissors, needles with thread;
- syntepuh for stuffing;
- beads for the eye.
The Amigurumi loop allows you to make the fabric whole, without a hole in the middle, so we start knitting with it. We knit a loop with five single crochet.

Then we pull them into a single circle and tie them in several rows, adding, in each, five new single crochets. It is important that the new posts are evenly distributed throughout the row so the circle will expand smoothly. We knit until the diameter seems enough for you to ready our snail.

After that, we knit the rows already without adding, creating a small bag. Having tied it to a sufficient height so that the head turns round, we begin to narrow our ranks so that the ball closes. This is done, in the same way as the process of adding loops, only instead of the second loop in the lower column it is necessary, in the process of tying, to evenly skip the five lower columns in each row. Leave a small hole and fill the ball with syntepuh.

Then we continue to tie the left hole so that it begins to lengthen. This will be the body of the snail. So that she stands in the middle and at the end we stuff it with a synthetic pad. This allows you to make small bulges that will serve as improvised legs and the snail will be able to stand evenly in the end.
Just as we tied our heads, we knit two small hemispheres. They will become the horns of our snail.

Sew the horns to the head and sew beads on the snail eyes.

Just as the head was knitted, we knit a snail shell. Only it should be more elongated. I made it striped and stuffed with syntepuh.

Sew the body to the sink and you're done.


Share
Pin
Tweet
Send
Share
Send

