Share
Pin
Tweet
Send
Share
Send
Step 1. Materials
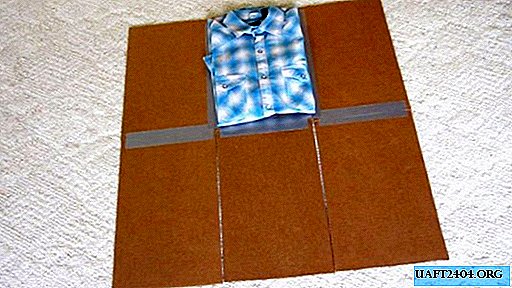
So, as already mentioned, the main thing that we need is cardboard and scotch tape. More precisely, you will need six pieces of cardboard, not less than 9x12 inches (23x30.5 cm) in size. For this, I used three packaging boxes made of corrugated cardboard, which were lying in my garage. Instead of adhesive tape, you can use a more durable tape, for example, from a woven material and use glue.

Of the tools you need a sharp knife and a ruler.

Step 2. Cut the cardboard to size

You need six cardboard rectangles to form the base of the folding board. The dimensions of the cardboard rectangles are determined by the size of the folding shirt. The above size is 9 inches (23 cm) by 12 inches (30.5 cm) commonly used in department stores for large shirts. Alternatively, you can simply fold the shirt to the desired size and use it as a template.


Measure and mark the outline of the six rectangles of your size. Then carefully cut them with a knife. Try to keep the sides as even as possible, this will ensure a beautiful and regular shape of the folds on the shirt.

Step 3. Connect the panels using tape
Arrange the cut panels in two rows of three pieces in each row, as shown in the photo. Position them so that between each panel there is a gap of about 1/4 inch (5 - 6 mm). It is important! The gap will make it easy to fold and unfold the panels during use.

Glue the panels of the upper row and the joints of the panels of the upper and lower rows between the front and back sides, as shown in the photo.
Your collapsible shirt board is ready!
Step 4. We use a folding board
- Now everything is ready for folding clothes.
- place the shirt front down in the center on the board;
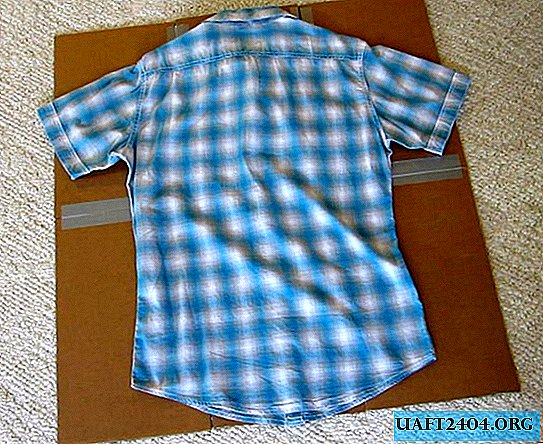
- fold one side panel and return the cardboard to its original position;
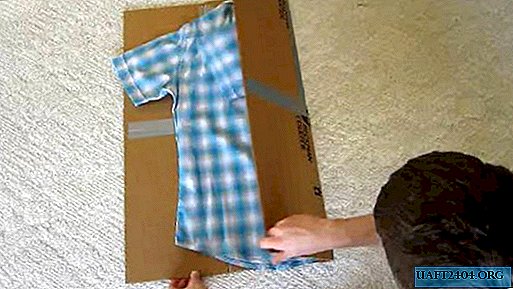
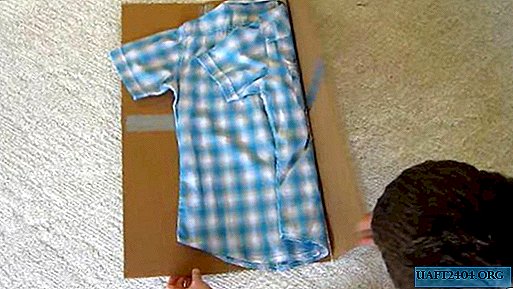
- fold the second side panel and also bring it back;

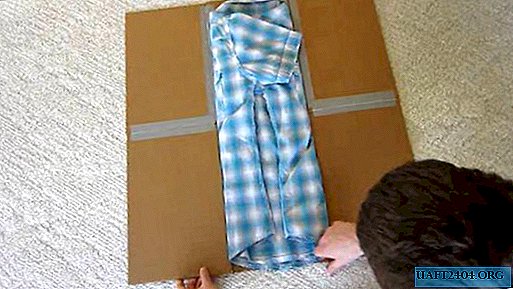
- Fold the bottom center panel up and back.
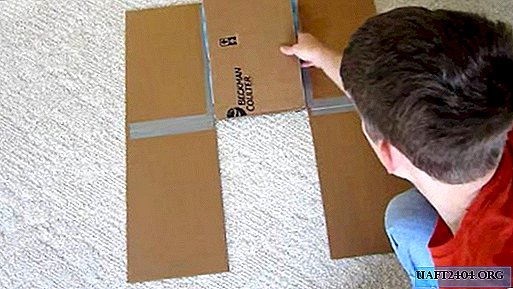
If done correctly, you should have a perfectly folded shirt in seconds.

Original article in English
Share
Pin
Tweet
Send
Share
Send


