Share
Pin
Tweet
Send
Share
Send
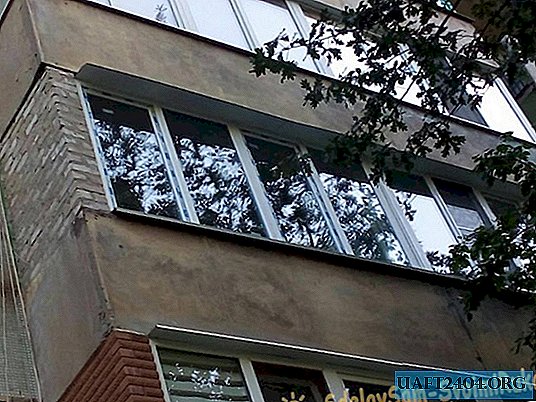
Those who decided to change the old wooden windows to plastic ones may wonder: is it possible to install them yourself? Although this is a job of medium complexity, it is still within the power of those who have at least some building skills. Installation of small windows in private houses is much easier than large windows on the balconies of apartment buildings. In this article, we will consider a more complex version of installing windows in a multi-storey building.
If you are not an expert in this matter, then it is better to ask a more experienced master so that he can figure out in advance what size plastic windows need to be ordered. So they are not too big or too small. When the windows are delivered to you, immediately check the availability of all components and accessories, and also check whether the exact size of the windows. Only after that sign the windows delivery documents.
DIY plastic windows installation
First you need to dismantle the old windows. To do this, you may need a hacksaw for wood, in order to saw beams and windowsill. You will also need a mount.
If you do not live on the ground floor, then upon delivery of the windows they will be dismantled so that it will be easier for the loaders to bring them into the apartment. This is good, since you also need it. In addition, you will have to additionally disassemble the double-glazed windows, pulling out the glass, since they give the main weight. Glass must be removed so that it is convenient for you to fasten the window sill and ebbs. Dismantling of the glass is carried out by removing the plastic glazing bead.

Before you start installing windows, you need to attach fasteners for the mosquito net, since then it will be difficult, because if you do not live on the first floor from the street, it will be impossible. To do this, attach the mosquito net to the window opening and screw the upper fasteners, then the lower ones, but so that the net can be removed, for example, in winter. Therefore, the lower mounting should be slightly lower than the size of the mosquito net.

Next, you can mount metal fasteners to the top and side of the window unit. This is done with the help of self-tapping screws, which should be available with fittings.


If the window openings are long, then several window blocks are usually ordered, which are interconnected by special fasteners (connector). It is necessary to immediately fasten the windows with a connector on both sides, and additionally fastened with screws.

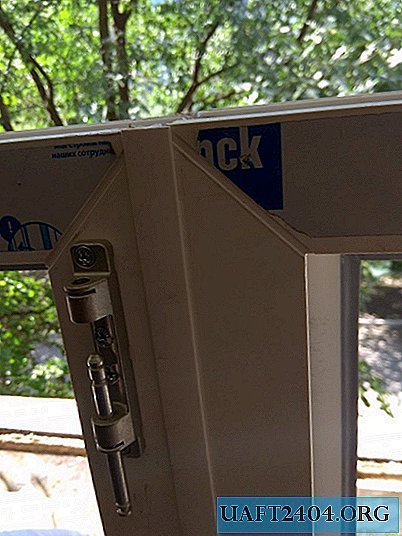
If you ordered the visors, then they must be attached to the top of the window unit, twisting the screws into the profile. This is done after you mounted the metal fasteners.
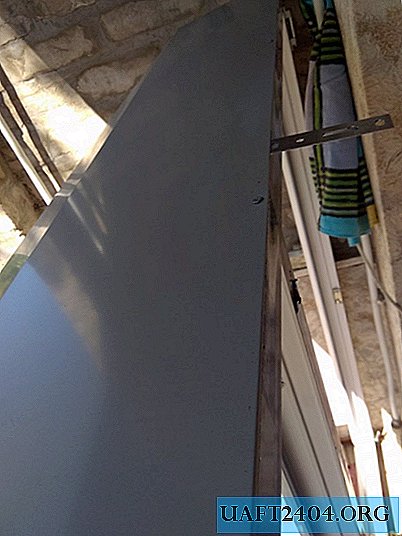
Next, you can start installing the window. If the windows are large, then you will need the help of at least one person who can help lift and position the window. Also, when you fasten the window to the wall, they must also be held.
Immediately try to level the window block, adjusting the wooden wedges below the bottom aligning horizontally.


After the window is approximately level, it can be attached to the wall at the side and top. To do this, you will need a hammer drill and quick installation. After drilling a hole, bend the metal fasteners, and then hammer a quick installation into this hole with a hammer.


After you fix all the metal fasteners, once again check the level of the window block vertically and horizontally.


If everything is in order, then proceed with the installation of further details. First you can fix the window sill, it is attached with screws to the lower profile from the side of the street.


After that, from the street you also need to fasten the ebbs to the lower profile of the window. Keep in mind that the visors, low tides, and the windowsill will not always be exactly the size you need. Most often they are a little longer. Therefore, you will have to cut off the visors and tides with a grinder or scissors for metal, and the windowsill with a jigsaw or grinder. You will need a tape measure to measure the right size and a square to accurately draw the lines along which you will cut.
At this stage, you can blow out the openings between the windows and the slabs with foam. To save a little on foam, especially if the gaps turned out to be large, you can use foam.


Then, the opening windows, which were removed, are attached to the window unit. To do this, you must immediately fasten the hardware (handles) to them, then put the window in special grooves.


In order for the window to open freely in all modes, the window must be configured with a special key (hexagon). In the grooves on which the window fits, there are special holes for the hexagon, where you can adjust the window by twisting the key on top and bottom. The purpose of the setup is to make the window close easily and open in all modes.


Next, you can attach all the plugs to the canopies, ventilation from the outside, as well as to the windowsills.


Lastly, you can attach the glass to the blind window openings. To do this, carefully attach the glass to the opening, and then holding it, fix the plastic glazing bead back.


After installation, immediately or in the coming days, peel off the protective film, because if this is not done, it will melt in the sun, and it will be very difficult to peel it off. When the foam hardens, it can be cut with a construction knife. Further, finishing work is performed - namely, the upper and side slopes are putty. Under the windowsill, it is also necessary to cover the mounting foam.
Share
Pin
Tweet
Send
Share
Send

