Share
Pin
Tweet
Send
Share
Send
- Homes for lighting: you can connect at least to a computer, even to a laptop.
- Camping, fishing or hunting: you can connect to an external battery (power bank) and the lighting in the tent or on the street is ready!
- In a car for backlighting: now every radio has a USB input. If you make the wire more authentic, then in general it can be used as a mobile sight lamp.
- There are many other uses.


What is needed for a USB lamp?
- USB wire from any unnecessary charging.
- 1-3 watt LEDs.
- A pair of resistors 5-500 Ohms - the resistance depends on the brightness of the LEDs.
- Non-working LED bulb 220 V.


Making a USB lamp
We disassemble the light bulb. To do this, pry off the white dome with a flat screwdriver. It is glued and should gradually move away from your pressure.


We remove the internal board, we will no longer need it, we will have it.

We make a hole in the base for the wire with a hot soldering iron. You can just drill with a drill.

We skip the wire to power the light bulb.

We now need to assemble a very simple circuit for powering the LEDs from USB - 5 V.

We do everything on a piece of plastic. My brightness is small, but if you want to be brighter, you need to do everything on an aluminum piece of metal. For better heat dissipation from LEDs. The resistance of the resistors can be adjusted and the power of the LEDs, and hence their heating.

We glue our assembled board to the light bulb. Glue on hot glue.

Now collect the light bulb. Glass can be glued to super glue.

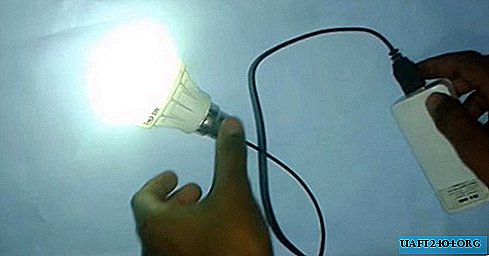
Here's what a finished USB powered lamp looks like.

But how to shine. Almost like a star before when it worked from 220 V. LEDs can be taken more powerful and more in quantity. But in this case, the current consumption will increase, which can affect the load of USB. I made the best option.

Share
Pin
Tweet
Send
Share
Send

