Share
Pin
Tweet
Send
Share
Send
If you want to repeat my master class, then prepare such materials for work:
- plastic cup (volume 100 ml);
- thin wire;
- a piece of thin sheet of metal;
- awl;
- pliers;
- a small tube of superglue;
- a brush;
- acrylic paints in three colors: white, black and blue;
- napkin with a pattern;
- PVA glue;
- scissors;
- a toothpick;
- dough for sculpting orange, yellow and green;
- lacy napkin.
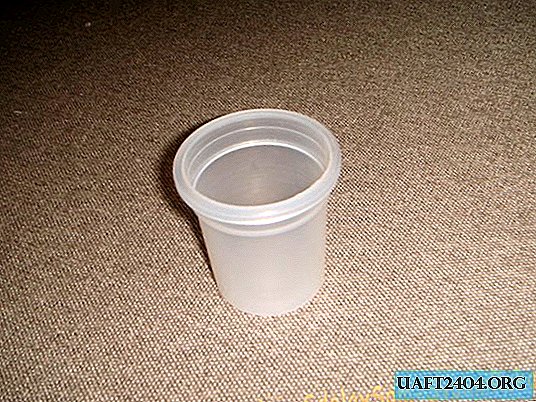
So, to make a bucket you need to take a regular plastic cup with a volume of 100 ml. At first I washed it well with soap to degrease the surface.
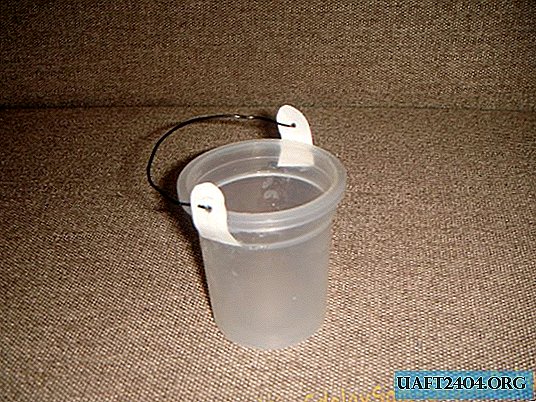
To make a pen, you need to prepare a piece of thin flexible wire 8 cm long and a small piece of a flat metal sheet.

I bent the wire in a half-ring, and then twisted the ends with pliers, forming loops. I cut the holders for a pen of arbitrary shape from a metal piece and made holes in them with an awl.

I connected the blanks and got just such a handle for my future bucket.

Using superglue, I fixed it on a plastic cup. Already the picture is looming!
Now the bucket needs to be coated with white acrylic paint inside and out.

After the white paint has dried, the outside has been painted blue.

Enamel buckets usually have a drawing. I did not change traditions and looked for a suitable image. It was found on a paper napkin. I cut out 2 pretty ornaments and stuck it on both sides of the container.


I dyed black paint on the top rim and bottom of the bucket.
On the handle I made a rotating element characteristic of real buckets. You can use a wooden bead, but I made it from masking tape.

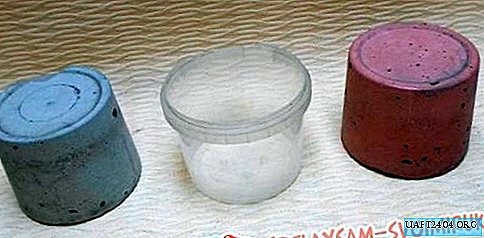
Enamelled mini bucket is ready!

Where to apply it? In the decor of your favorite cuisine! I decided to fill it with pears and apples made from modeling dough.
Took three colors: green, orange and yellow.

After mixing all three, a beautiful color turned out that ripe fruits have.
The dough was divided into small pieces and molded balls with a diameter of a little more than 1 cm.

I made a hole in each ball with a toothpick.

I inserted a piece of napkin imitating the tail of the fetus into it and attached a small green leaf. Appetizing apples and pears come out.

From the dough for sculpting, an excellent crop was obtained. After drying, the products retain both shape and color.

It remains only to put the fruits in a bucket and create a composition on a lace napkin.

Here is such an original decoration can be placed on a shelf in the kitchen.

I made sure that a mini-bucket, made by myself, looks no less attractive than store options.
Share
Pin
Tweet
Send
Share
Send