Share
Pin
Tweet
Send
Share
Send
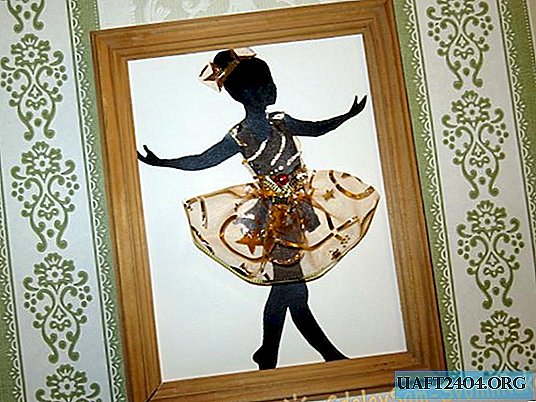

A small picture-panel with an elegant outline of a little ballerina can serve as a decoration for a child’s room for a girl, or any other room with free space on the wall. So, if you were visited by inspiration, and wanted to refresh the interior with something, then get down to business.
The panel turns out to be voluminous, it can be made together with the children, if you make some efforts and act carefully.
For work, prepare:
- a sheet of thick decorative paper (paper for postcards, kraft paper, a basis for quilling, a fragment of beautiful wallpaper, even colored cardboard are suitable);
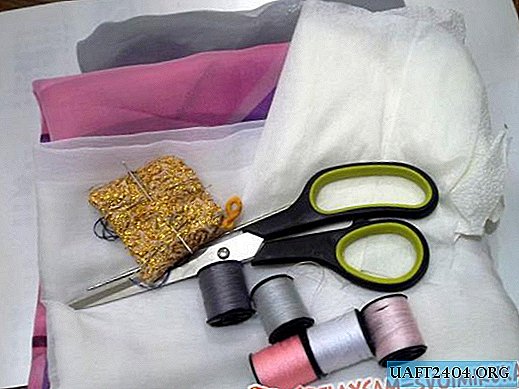
- black thick paper, lace, gas, chiffon fabric or organza, in our case, a ribbon for decorative gifts with a structured edge, and you can sort through the shreds, ribbons or unnecessary scarfs, scarves;
- small decorative elements such as miniature bows, rhinestones, sequins or beads.

First, select the outline of a young ballerina. It can be downloaded from the Internet, reduced to a suitable photo or picture, or if you have the skills of an artist, draw it yourself.
Next, we transfer the contour to a sheet of black paper and cut it out with scissors with thin blades. A manicure tool is perfect for manipulation.


After that, we begin work with a ribbon of orgase (or the fabric or lace that you prepared). We will build a ballerina outfit from fabric.


We collect one wire edge into a small fold, and we straighten the second one. It turns out a voluminous, transparent, airy skirt for the ballerina.

From another piece of tape, cut out the top of the outfit. In order not to be mistaken, first cut out the stencil of the upper part from cardboard. We outline this part of the ballerina’s template and transfer it to a piece of thick paper or cardboard. Then, we apply a contour to the fabric and cut out the upper part of the dress.


Small pieces of fabric that remained in the scraps can also be used to decorate the ballerina’s hairstyle, to make small flowers or bows from them.

We place all elements of the panel on the base sheet and determine their final position. We heat the glue thermogun and sequentially fix individual parts.
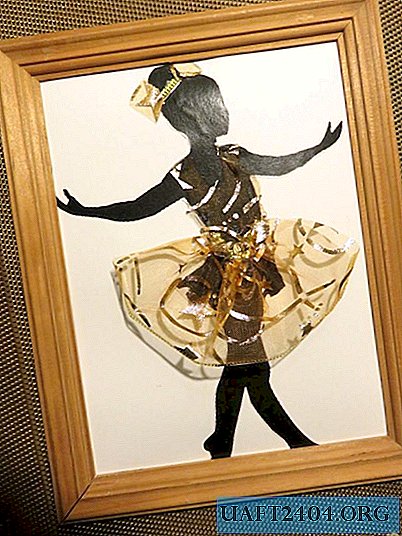
Please note that such a thin material as organza requires delicate work with glue. It is necessary to apply it with a thin layer along the very edge so that it does not show through. Hot-melt adhesive will successfully replace the Titan glue, it must also be applied in a metered and precise manner along the edge. If a drop of glue is more than necessary, it will seep through the fabric and spoil all the work.
We decorate the panel with additional elements that you have prepared.

It remains only to place the panel picture in a frame, and provide for the possibility of hanging it on the wall. A small nuance: if your frame is not very large, then choose a smaller ballerina template so that her legs fit in the panel, and not hide behind the frame, as it happened in our case.
Share
Pin
Tweet
Send
Share
Send

