Share
Pin
Tweet
Send
Share
Send
This natural material is very elastic, you can make various figures. Clay hardens quickly and can be painted in any color. It turns out unusual toys, and most importantly - without harmful substances.
"Horse"
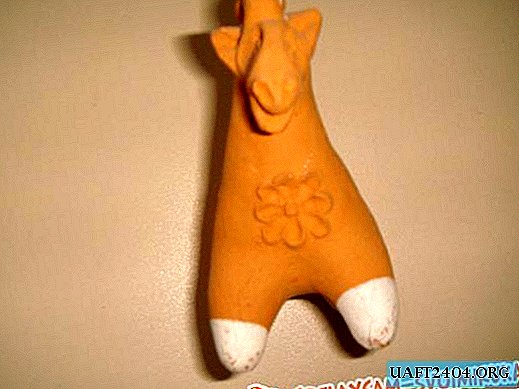
Such a beautiful toy is very easy to make. Need a whole piece of clay. Hands extend your neck, four legs and a small tail. On the neck you form a mane, on the head - ears, eyes, mouth and nose. Small details are best drawn and cut through the stack. The horse can be decorated with clay flowers.
To smooth rough irregularities you need to use a soft brush dipped in water.
Send the toy to the oven or dry it on the battery. Then color with white gouache.
It turns out a beautiful horse.


"Whistle"
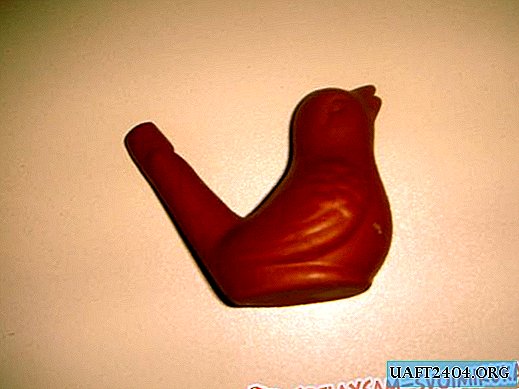
It’s more difficult to make such a toy. You need to knead the clay ball into a flat pancake, wrap it around the thumb and shape the toy on it. You can sculpt the head of a bird with a beak, make wings on the side. Then remove the workpiece from your finger and form a whistle: a long, thin and hollow hole. You also need to make a stand so that the whistle does not fall. Important details are holes. On the head of the bird (on top) and on the whistle (like a pipe). Once solidified, the sound will be more sonorous. If you fill the whistle with water, then the sound will be more interesting.



Bird
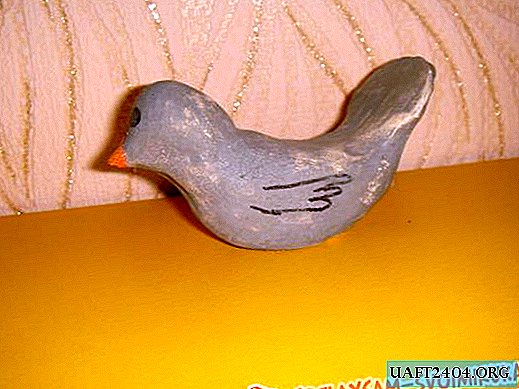
A simple clay craft that an older preschooler can do. You need to use a single piece of clay, rolled into an oblong sausage. The fingers extend the tail, head and beak. After the clay dries, the bird turns gray, its beak turns orange. Eyes and wings are drafted.


"Ram"
This toy is made on the same principle as a horse. From a large clay ball, you need to fashion a neck with a head, two legs and a back stand (although you can form just four legs). On the head you need to make long swirling horns. Then with a thin toothpick you need to make a mouth, eyes and a pattern on the horns and an ornament on the body of the animal. After drying, paint with white paint.


"House"
For this toy you need to divide a piece of clay into three parts. The largest will be used to make the roof, the smaller will be used for the walls, and the smallest will be used for decoration. Roll one ball of clay into a thin long layer and form a cube without a bottom and top. This will be the basis of the house - the walls. Flatten the second piece of clay and make a cone without a bottom. It should match the size of the base. Connect the two workpieces together. Now it's time to decorate. Fashion details from the third piece of clay: windows, fence, flowers, doors, roof decoration. You can draw stripes on the roof with a stack, you get an imitation of straw. The house is ready. He could only dry. Inside it is hollow.


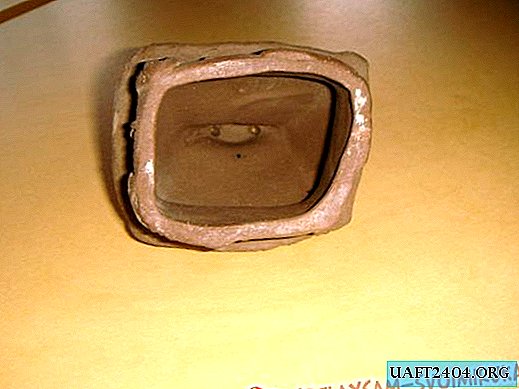
These beautiful toys can be made independently from natural clay material.
Share
Pin
Tweet
Send
Share
Send

