Share
Pin
Tweet
Send
Share
Send
So, you can proceed, take the following for the master class:
• Watercolor paper A4;
• Scrapbooking paper in blue shades with flowers;
• Cotton fabric white in blue-brown flowers;
• Blue satin ribbon in white polka dots 5 mm wide;
• Salad jute cord;
• Green berries in sugar and red viburnum;
• The inscription printed "Happy Jam Day";
• Lace beige cotton 2.5 cm wide;
• Hole puncher;
• Plastic buttons of different colors;
• Cardboard can template;
• Glue with the effect of double-sided tape from Eugene Kurdibanovskaya;
• Pencil and ruler;
• Double-sided tape;
• scissors;
• Lighter.
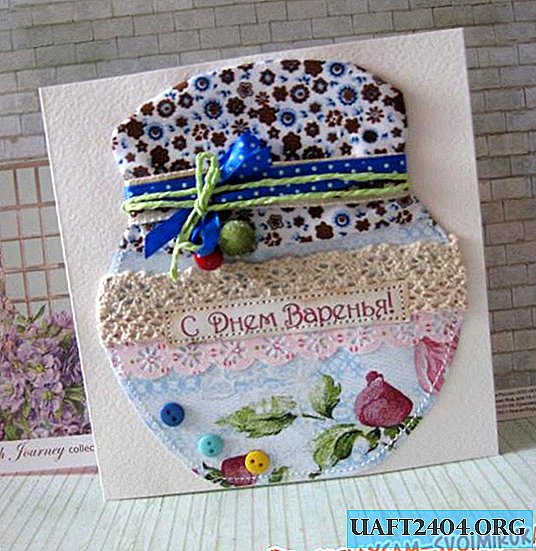

First of all, we cut out the basis of watercolor paper for our congratulatory jar. We measure out a rectangle of 15 * 30 cm and fold it in half, we get a workpiece of 15 * 15 cm.


Now we attach the cardboard template to the scrapbook paper and cut out such a scrap jar.


We cut a rectangle of 10 * 15 cm from the fabric and tie the top of the can with it, as grandmothers used to do. We fix with double-sided tape.


We make paper lace with a hole punch, glue it in the center of the can. Cut a strip of cotton lace.


We glue the cotton over the paper lace, and the inscription "Happy Jam Day" is glued on top of the lace. We tie a cloth on a jar with a blue ribbon on top and tie a bow.


We also wrap the jar with a jute cord and also tie a bow. We sew the inscription on the sewing machine, and then the jar itself below the fabric.


Turn over our cardboard jar and spread with adhesive with the effect of adhesive tape. We glue it on the watercolor blank and press it for just a couple of minutes.


Twist the berries and glue them to the eyeballs. Glue the buttons at the bottom of the can.


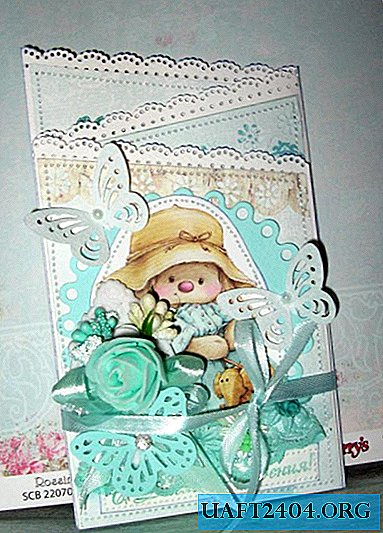
Done. We get such an interesting postcard!

Share
Pin
Tweet
Send
Share
Send

