Share
Pin
Tweet
Send
Share
Send
We will need the following elements:
- Cardboard (white and color);
- glue;
- Wooden skewers (long) or cocktail tubes;
- Photos;
- Plasticine, salt dough or floristic sponge;
- Capacity under the flowerbed (bucket, box, basket, etc. etc.);
- Decorations (decorative straw, decoupage paper, pebbles, etc.);
- Ribbons.
Now we begin to create in stages.
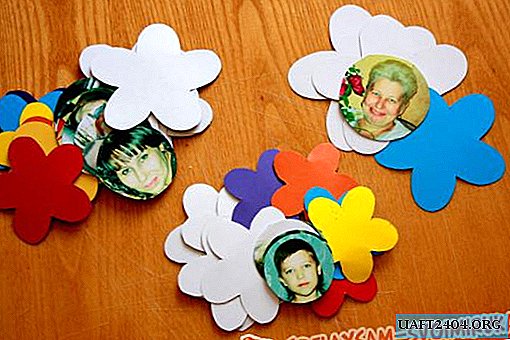
1. The essence of our entire flowerbed is that each member of the family will be a separate flower. To do this, we procure photographs of a family of different diameters (cut in a circle). They are the midpoints of our colors.
2. Cooking the petals. You can use templates from the Internet, you can do it yourself. They can be of completely different shapes, sizes and types. The main thing is that our middles in the end fit well into them (glued).
You can cut the petals from color cardboard, from thick paper, or from white cardboard, which can then be decorated with crayons, gouache or sparkles.
3. The next step is attaching the flower to the stem. As a stem, you can use long wooden skewers or cocktail tubes (in my case, they suited me more, because they are green).

To fix the petals on a wooden stick, you can use glue or thread. With a straw is still easier. On the one hand we cut it into 1-2 cm with the help of an office knife in half.


Then between the cut parts we insert the main petals and attach the stapler along the tube.


Glue the remaining petals to the top, closing the bracket, then the middle of the photograph.


After gluing all the flowers, they should be put under the press so that they stick together well.
4. Choose a container that will be the basis of our flowerbed. You can use a small iron bucket (decorative), a basket (floristic) and so on. In my case, a round white candy box was taken. You can decorate it with stickers in the form of flowers, which are sold in any store for creativity.
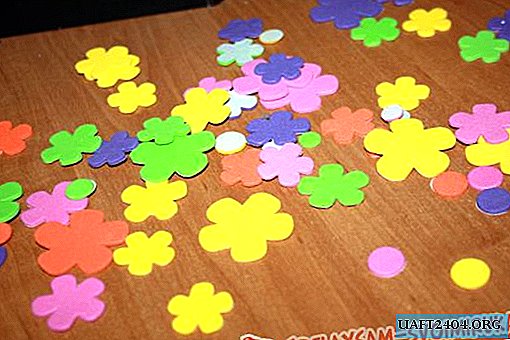

Also use ribbons, rhinestones, stones, etc. The choice depends on the imagination of the author and the reason for the gift. In order for our flowers to grow in something, we need to choose the type of "soil". In this quality, you can use plasticine (although it is quite expensive), a floral sponge, and I took the cheapest option - salty dough for modeling. Recipes for its preparation on the Internet are enough, so I will not talk about this. The main thing is to choose the recipe that involves a "cool" dough of large mass. It is this consistency that will allow the flowers to stay in it and not fall. I had prepared such a green dough in advance, "rested" until this night in the refrigerator.

So that the box does not fall to its bottom, I placed pebbles, and they already have a green test mass.


5. Almost the final step is to plant the flowers. If they have simple skewers as legs, then they will stand evenly and motionless. In my case, the tubes as a stem give the flowers a more “lively” appearance, as they slightly tilt the flower head in different directions. The final touch is ribbons instead of leaflets. You can take green ones, but I decided to add some colors and imposed colored ribbons.
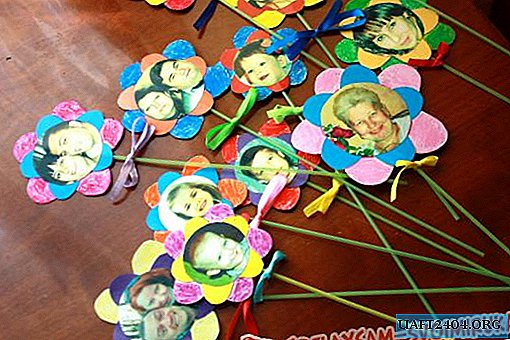
OK it's all over Now. Voila, and the Family Bed is ready! You can make a gift not only for a family member, but also for your beloved teacher, counselor or just a dear friend.

Share
Pin
Tweet
Send
Share
Send

