Share
Pin
Tweet
Send
Share
Send
We will need:
- Polymer clay;
- Stationery line;
- pin;
- A holder for papers.
First of all, unpack the polymer clay. I’ll take the gray plastic.
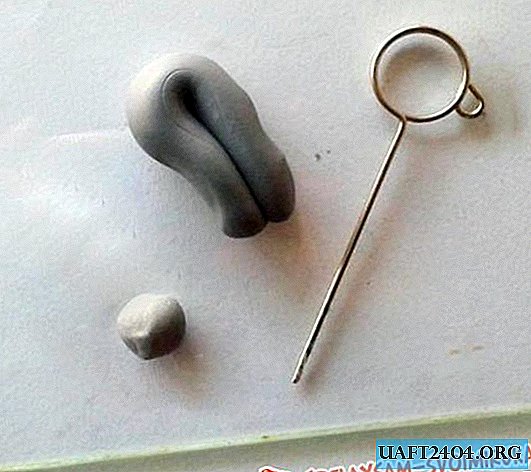
Form the torso’s body parts: belly, head, four legs and ears. To make the slices smooth, use a ruler to cut the clay.

Attach the lower legs and head to the body of the bear.

Make indentations in your ears to make them look more realistic.

Attach the ears to the head.

From red polymer clay, cut a triangle with rounded edges.

Give the triangle a heart shape.

Put your heart on the torso’s body.

Attach the front paws so that they seem to hold the heart. Roll up a small ball from gray plastic and attach it to your head - this will be a muzzle. Insert a paper holder under one of the teddy bear’s legs.

Using a pin, give the surface of the figure a wool texture. You can also "draw" different seams and legs so that the bear resembles a soft toy.

Following the instructions on the polymer clay packaging, bake the figurine in the oven.

So, the stand for photos in the shape of a bear is ready! Put some image in the holder and place the bear on a shelf or table.

Share
Pin
Tweet
Send
Share
Send

